
Growing vegetables, herbs, and seedlings in your garden does not necessarily require purchasing a ready-made metal greenhouse. A compact seasonal greenhouse can be built using wooden beams, fiberglass rebar and reinforced polyethylene film.
In this article, we will look at an example of building a 3×2×2 m greenhouse with a frame made from 10 mm fiberglass composite rebar (compliant with GOST standards) manufactured according to technical specifications. We will explain the structure, required materials, assembly process, and operating considerations.
Design Features of a 3×2×2 m Greenhouse
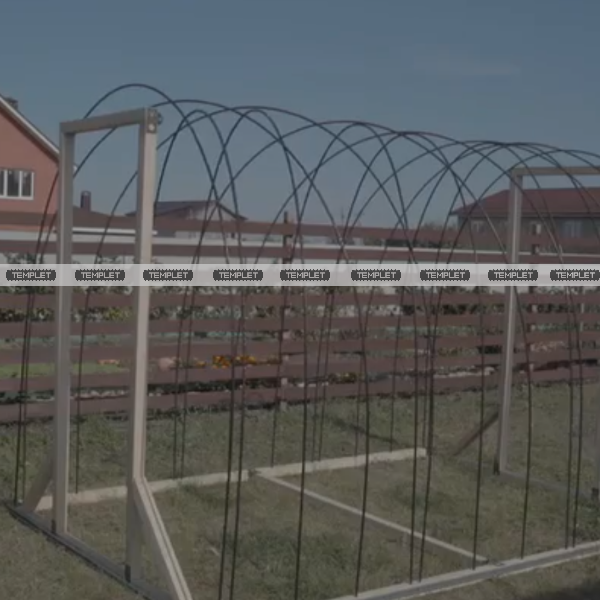
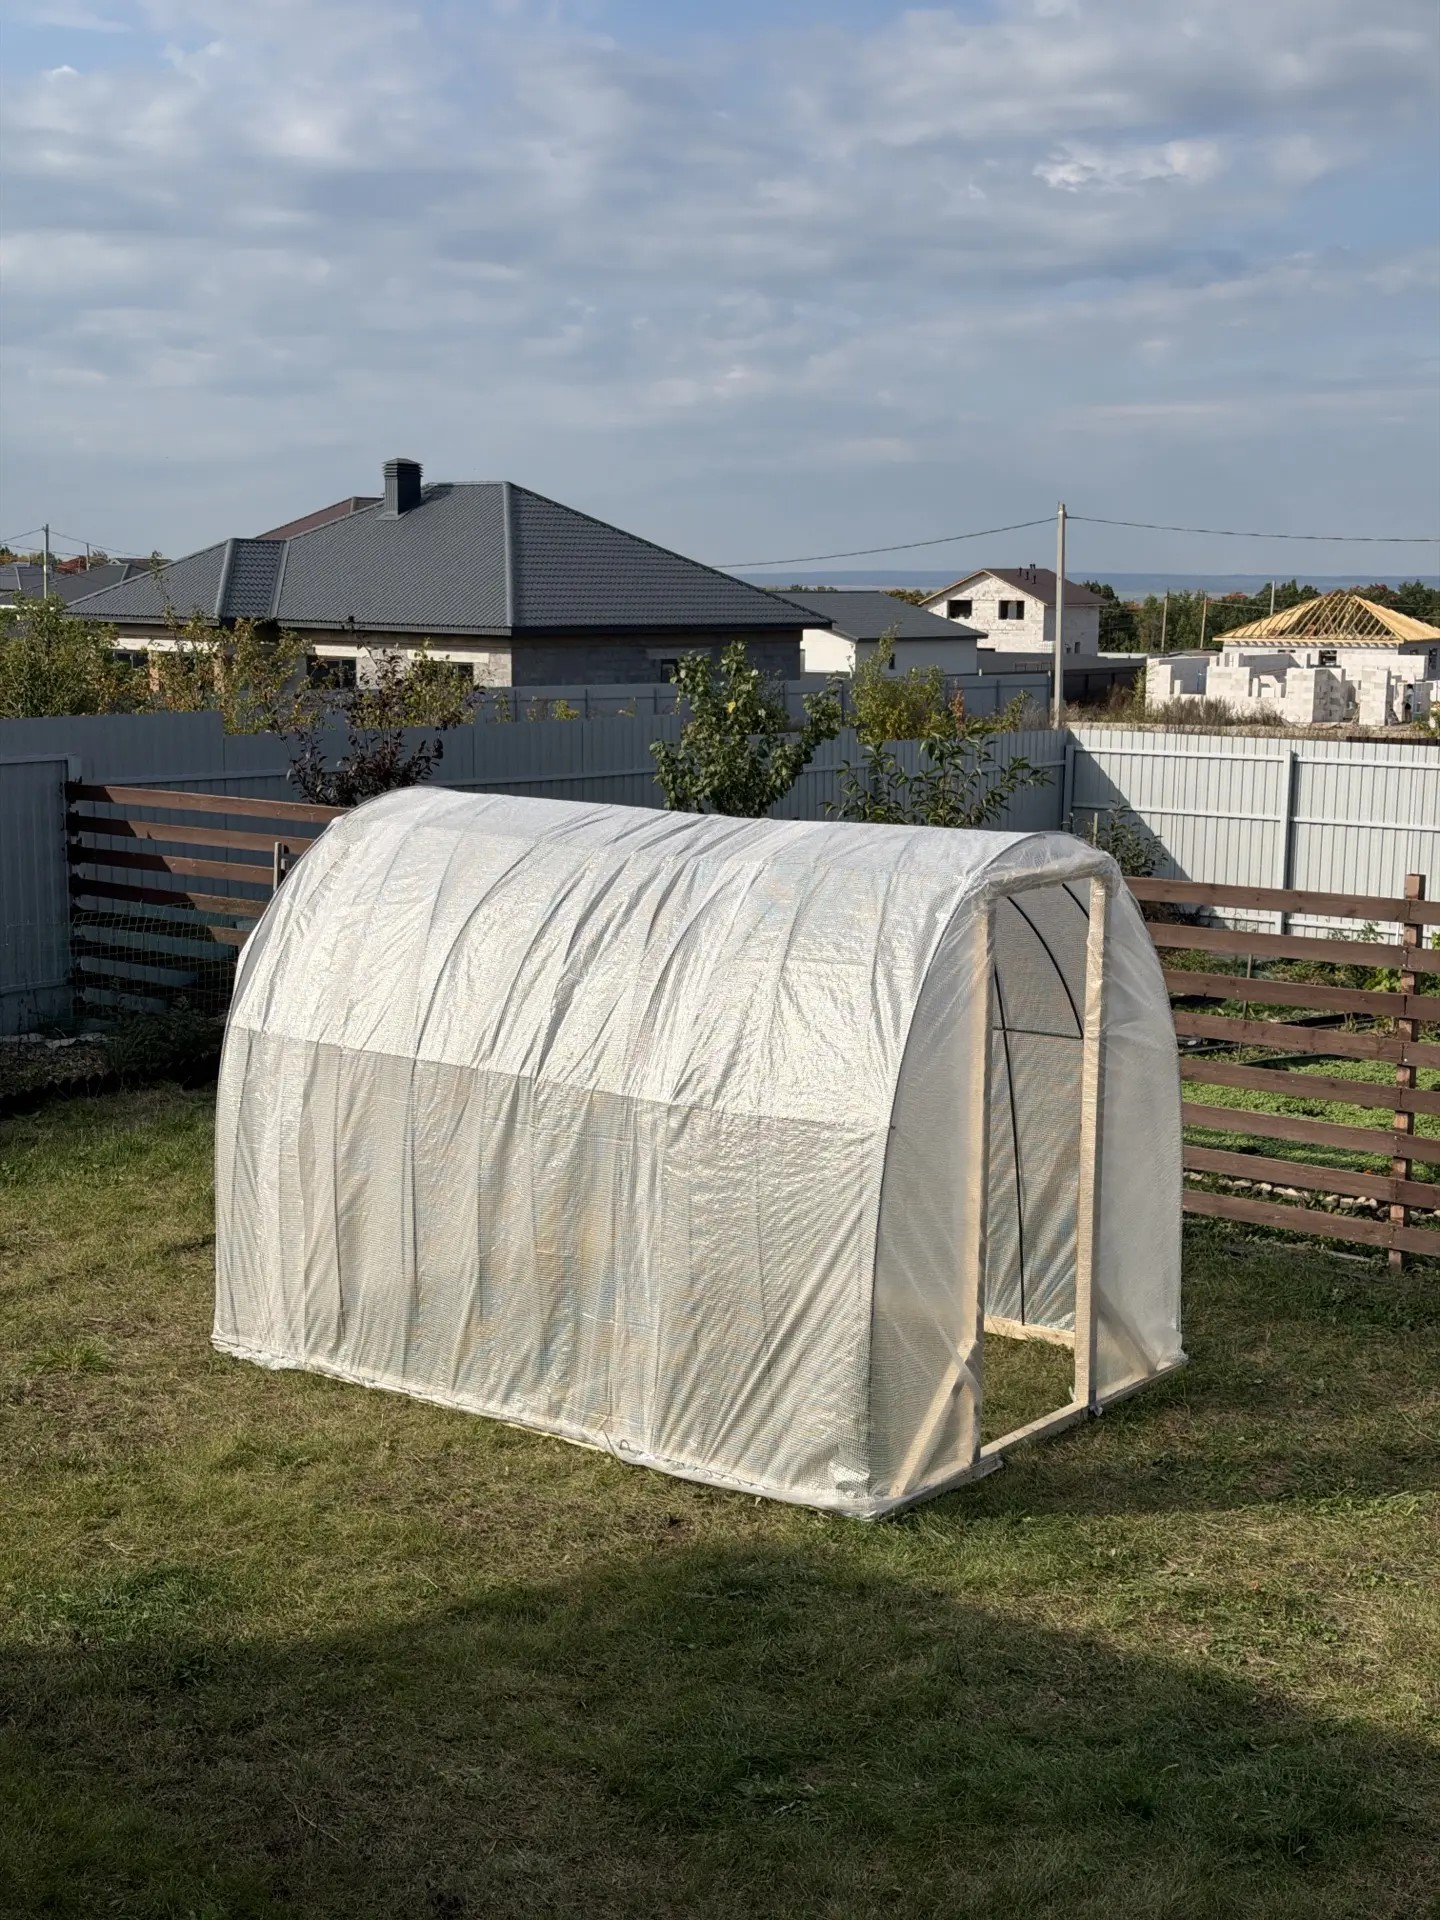
The main difference between this greenhouse and a conventional low tunnel greenhouse is the shape of its frame. The side sections rise almost vertically and smoothly transition into a rounded roof.
This geometry allows more efficient use of the interior space. There is sufficient room near the walls for planting beds and growing crops.
The structure consists of:
- a rectangular wooden base;
- transverse fiberglass rebar elements;
- longitudinal supports connecting the frame;
- wooden end-wall posts;
- a doorway;
- reinforced polyethylene film covering.
Greenhouse Dimensions
| Nominal length | 3000 mm |
| Nominal width | 2000 mm |
| Nominal height | 2000 mm | Base area | Approximately 6 m² |
| Rebar diameter | 10 mm |
| Covering material | Reinforced polyethylene film |
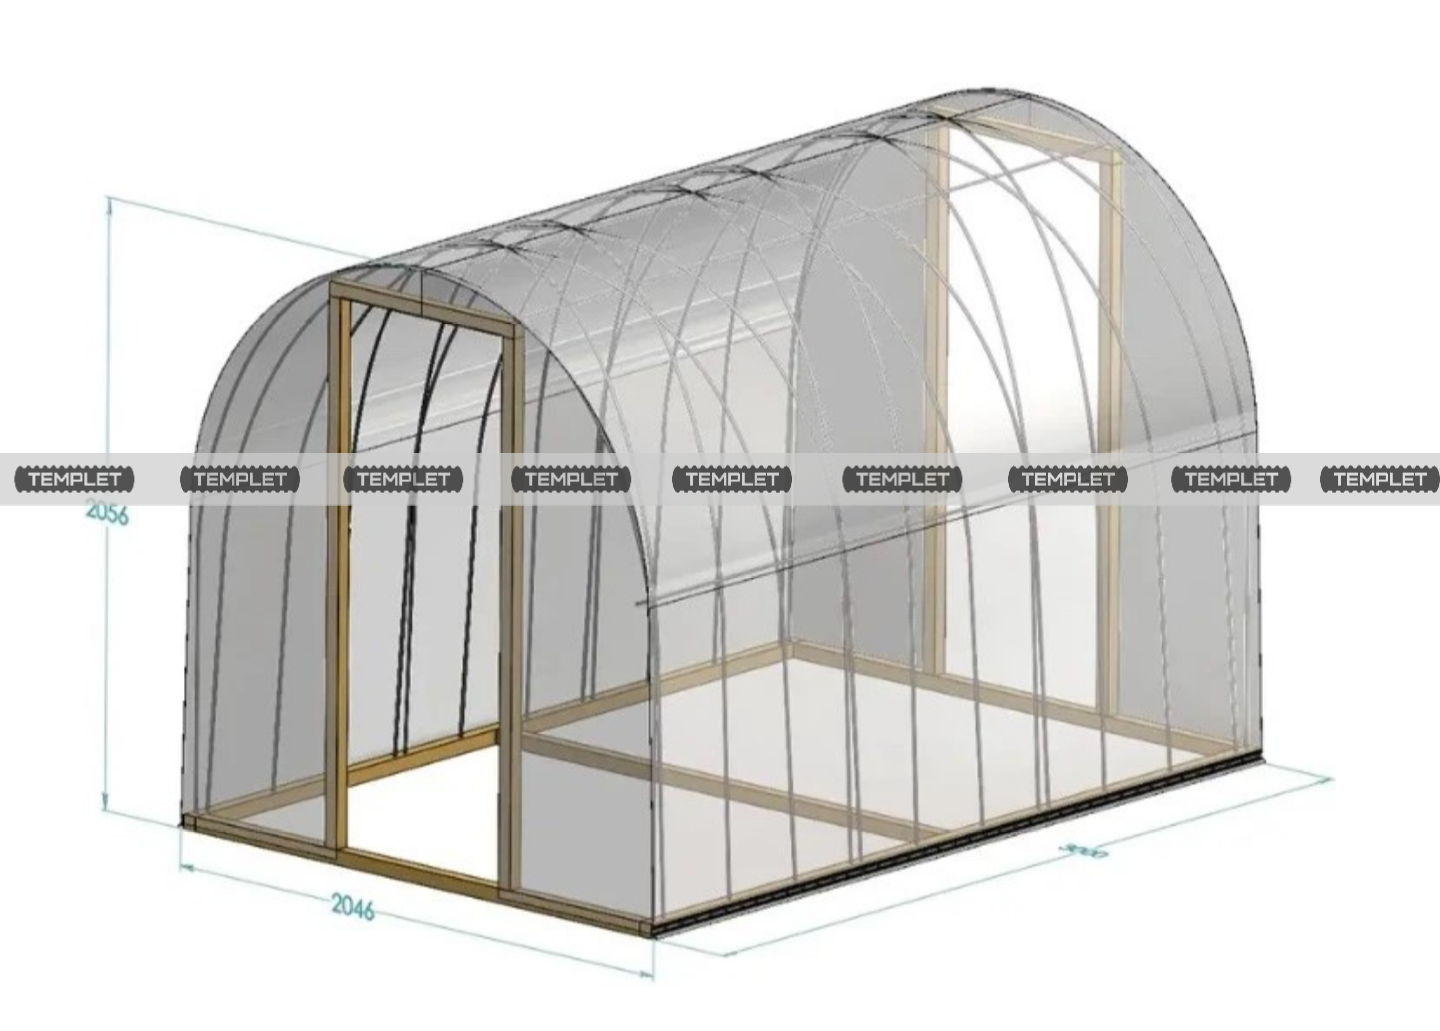
Figure 1. Greenhouse design with a wooden base and composite arches.
Why Use Fiberglass Rebar for the Greenhouse Frame?
Fiberglass composite rebar is manufactured from glass fibers and a polymer binder. Its properties make it suitable for lightweight seasonal garden structures.
✔ Lightweight. Fiberglass rods are significantly lighter than steel reinforcement. They are easy to transport, carry, and install.
✔ Moisture resistance. Fiberglass does not rust when exposed to water, which is particularly important in greenhouses where plants are watered regularly.
✔ Flexible shaping. The elastic properties of fiberglass rebar allow it to form curved elements within the manufacturer's permitted bending radius.
✔ No welding required. The frame can be assembled using mechanical fasteners and suitable connectors.
When selecting the material, it is important to consider not only the rebar diameter but also the manufacturer's specifications, including the minimum bending radius, stiffness, and operating conditions.
Materials Required for Assembly
This greenhouse project uses 10 mm fiberglass rebar manufactured according to GOST standards. The material set includes rods of two different lengths.
| Rod Length | Quantity | Total Length |
|---|---|---|
| 5.2 m | 14 pcs. | 72.8 m |
| 3 m | 5 pcs. | 15 m |
| Total | 19 pcs. | 87.8 m |
The rods are allocated between arches, longitudinal supports, and other frame elements according to the assembly drawing.
Additional Materials
- 50×50 mm wooden beams — 30 linear meters;
- 4.2×75 mm screws — 50 pcs.;
- 3.5×25 mm screws — 50 pcs.;
- nylon cable ties — 100 pcs.;
- galvanized film fastening profiles — 4 pcs.;
- steel springs for fastening profiles — 4 pcs.;
- reinforced polyethylene film — 1 unit.
Ground anchors, reinforcing brackets, and suitable rebar connectors may also be required for final installation. The required film dimensions and fastening profile lengths should be confirmed before purchasing.
Step-by-Step Assembly of a Fiberglass Rebar Greenhouse
Step 1. Preparing the Site
Choose a level, well-lit location for the greenhouse. Ideally, avoid placing it near tall trees or buildings that create permanent shade.
Remove stones, debris, and vegetation from the installation area. Level the ground if necessary. Make sure there is enough free space in front of the entrance for convenient access.
Step 2. Assembling the Wooden Base
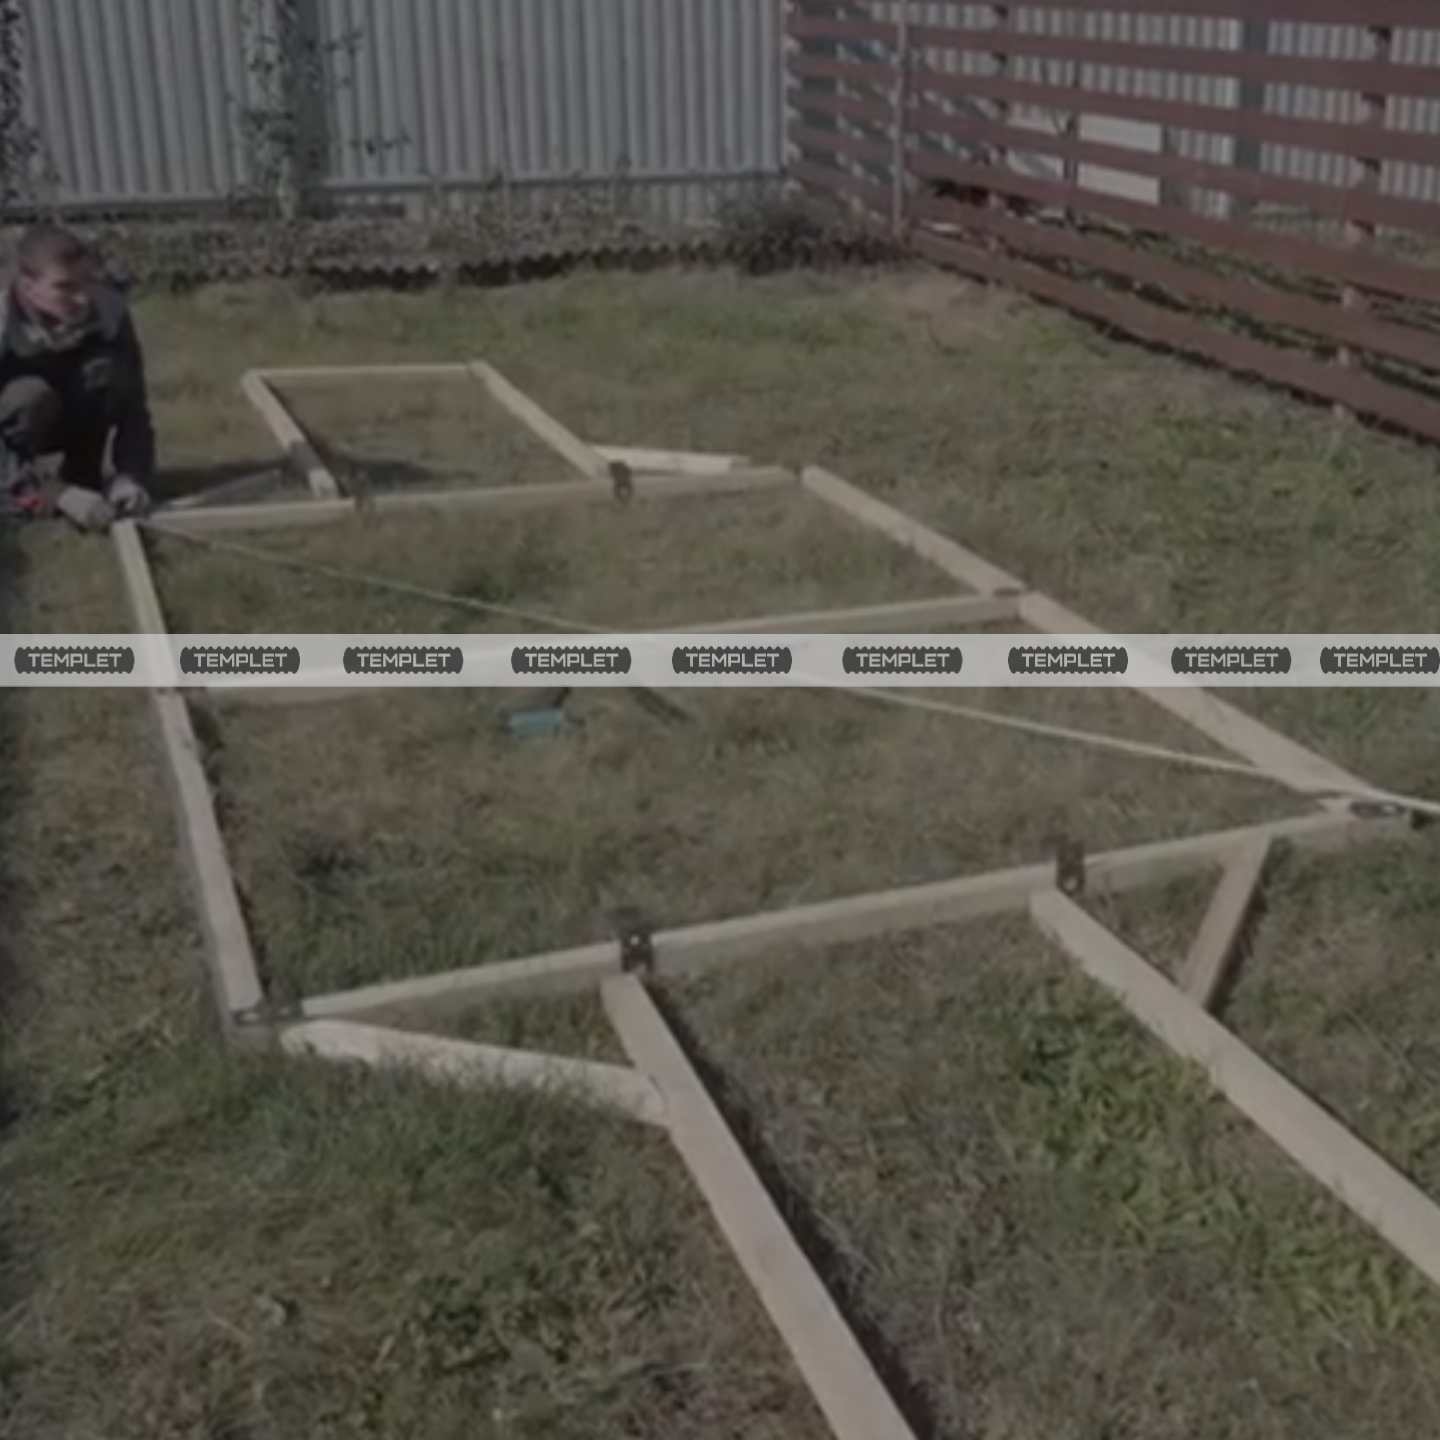
The base is made from 50×50 mm wooden beams. Arrange the prepared wooden elements into a rectangle according to the project dimensions.
Connect the components with screws and check the frame geometry. For a 3×2 m rectangle, the diagonal measurement should be approximately 3.61 m.
After checking the dimensions, secure the base to the ground using suitable anchors. It is recommended to treat the wood with a protective coating beforehand.
Step 3. Installing the 10 mm Fiberglass Rebar Arches
A distinctive feature of this structure is its transverse frame elements, which form nearly vertical side walls and smoothly curve into the roof.
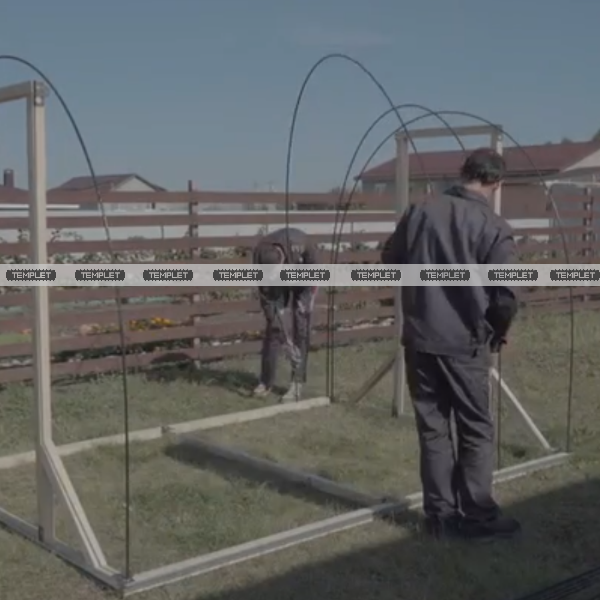
Before installation, prepare a template corresponding to the designed frame shape. Install the end arches first, then align the intermediate arches using the end elements as a reference.
Secure each rod at the fastening points specified in the project. During installation, remember that bent fiberglass rebar tends to return to its original shape.
Important: Avoid sharp bends and do not exceed the permitted curvature of the rods. The feasibility of the proposed frame shape must be checked against the technical specifications of the 10 mm fiberglass rebar.
Step 4. Installing Longitudinal Supports
To create a unified frame, connect the arches with longitudinal elements. These supports help maintain the designed frame geometry and reduce movement of the transverse sections.
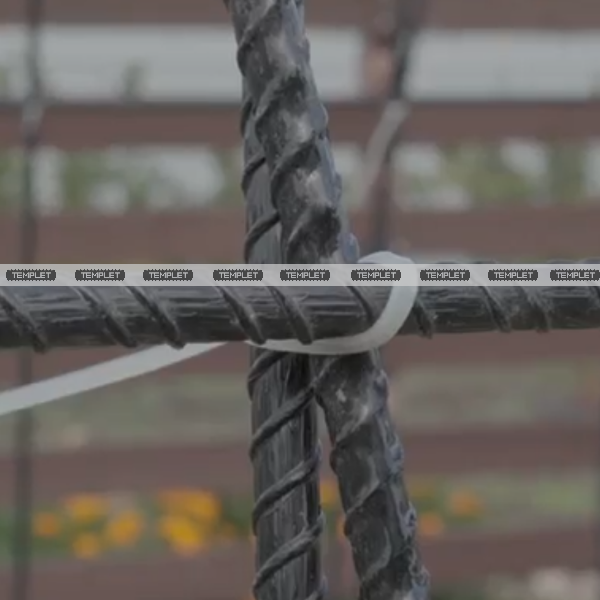
Position the supports at the designated connection points and secure them with suitable connectors. Nylon cable ties may be used for auxiliary fastening, but they should not replace the main structural connections.
Step 5. Building the End Walls and Doorway
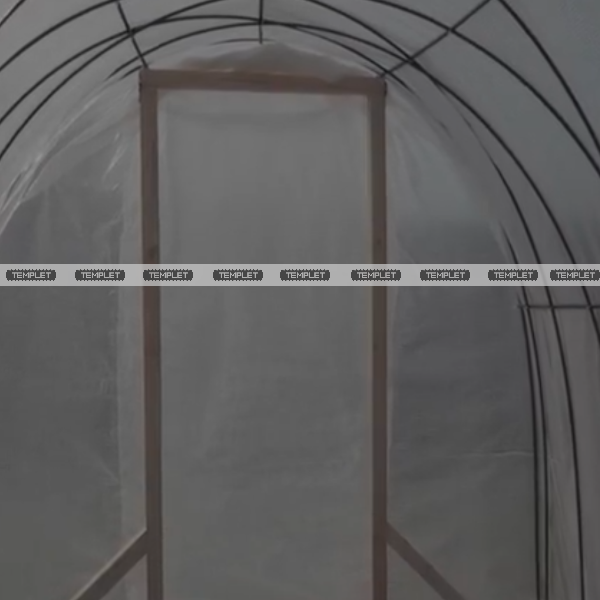
Reinforce the greenhouse end walls using wooden posts. Create a rectangular doorway on the front side of the structure.
The vertical posts and crosspieces are made from 50×50 mm wooden beams. Select the doorway dimensions based on the greenhouse height and curved roof geometry.
The door can be constructed as a lightweight wooden frame covered with polyethylene film. It is advisable to provide a ventilation window on the opposite end wall.
Step 6. Attaching the Reinforced Polyethylene Film
Once the frame is complete, proceed with installing the covering. This project uses reinforced polyethylene film.
Before cutting the film, measure the outer arch contour, greenhouse length, and end-wall dimensions. Allow additional material for secure fastening.
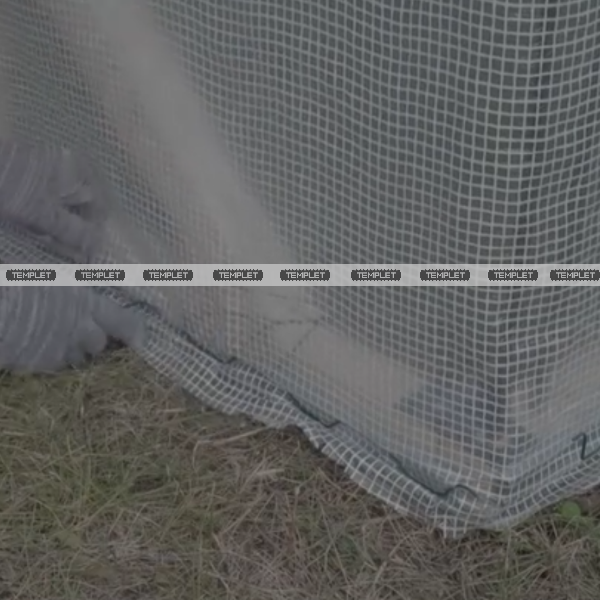
Carefully spread the film over the greenhouse frame and secure it using galvanized fastening profiles and special steel springs.
Do not overstretch the covering. Protective pads are recommended where the film contacts fasteners to reduce wear and prevent tearing.
Step 7. Inspecting the Completed Greenhouse
After completing the assembly, check the following:
- stability of the wooden base;
- security of the fiberglass arches;
- fastening of the longitudinal supports;
- condition of the film covering;
- absence of exposed sharp fasteners;
- operation of the door and ventilation openings.
After inspection, you can begin arranging planting beds and preparing the soil.
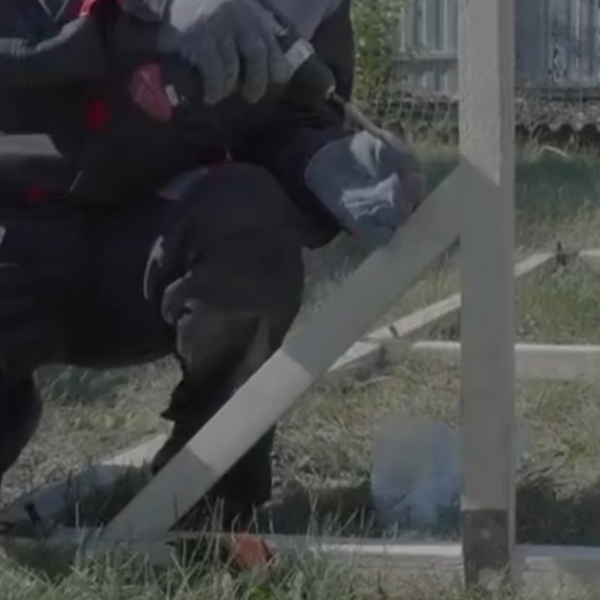
Greenhouse Assembly Stages — Photo Gallery
How to Organize the Space Inside the Greenhouse
With a width of approximately 2 meters, the greenhouse can accommodate two longitudinal planting beds and a central walkway.
For example, if the central walkway is 60 cm wide, approximately 70 cm remains for each planting bed.
Thanks to the nearly vertical side walls, useful height is maintained even near the edges of the structure. This makes the greenhouse suitable for growing tomatoes, cucumbers, peppers, and other crops.
For taller plants, separate supporting structures are recommended. Heavy trellises should not be attached directly to the lightweight frame without verifying its load-bearing capacity.
How to Extend the Service Life of Your Greenhouse
✔ Inspect the connections. Regularly check the joints between the arches and longitudinal supports.
✔ Maintain the covering. Repair any damage to the film as soon as it appears to prevent further tearing.
✔ Protect wooden components. Avoid prolonged moisture accumulation where wooden elements contact the ground.
✔ Consider snow loads. If the greenhouse is not designed for winter operation, remove the film covering before heavy snowfall.
✔ Consider UV exposure. Fiberglass composite rebar intended for outdoor use should meet the manufacturer's requirements for ultraviolet resistance.
Frequently Asked Questions
Can I Build a Greenhouse from Fiberglass Rebar Myself?
Yes. A lightweight seasonal greenhouse can be constructed using a wooden base, fiberglass rebar, and polyethylene film. It is important to follow the project dimensions and secure all structural elements properly.
Is 10 mm Fiberglass Rebar Suitable for a Greenhouse?
This project specifies 10 mm fiberglass rebar manufactured according to GOST standards. Its suitability depends on the mechanical properties of the material, the frame geometry, and the expected loads.
How Much Rebar Is Needed for a 3×2×2 m Greenhouse?
The specified material set includes 19 rods with a total length of 87.8 m: 14 rods measuring 5.2 m each and 5 rods measuring 3 m each.
How Do You Secure Reinforced Polyethylene Film?
Special galvanized fastening profiles and steel springs are used to secure the greenhouse film. These components hold the covering along the fastening lines.
Can the Greenhouse Be Left Outdoors During Winter?
This depends on the calculated strength of the frame. If the greenhouse is not designed to withstand snow loads, the film covering should be removed.
Where to Buy Fiberglass Rebar for a Greenhouse
When building a greenhouse frame, it is important to choose fiberglass composite rebar with known technical specifications.
Before purchasing, consider the rod diameter, length, permitted bending radius, and manufacturer's recommendations.
Explore the available products in the TEMPLET Product Catalog .
Conclusion
A 3×2×2 m greenhouse made from fiberglass rebar is an example of a compact seasonal structure that can be built independently.
This project uses 10 mm fiberglass composite rods, a wooden base, longitudinal supports, and reinforced polyethylene film.
The nearly vertical side walls and rounded roof help make efficient use of the available interior space.
With proper design, compliance with permissible loads, and secure structural connections, such a greenhouse can provide a practical solution for seasonal vegetable, herb, and seedling cultivation.
Order Products or Request a Consultation:

